
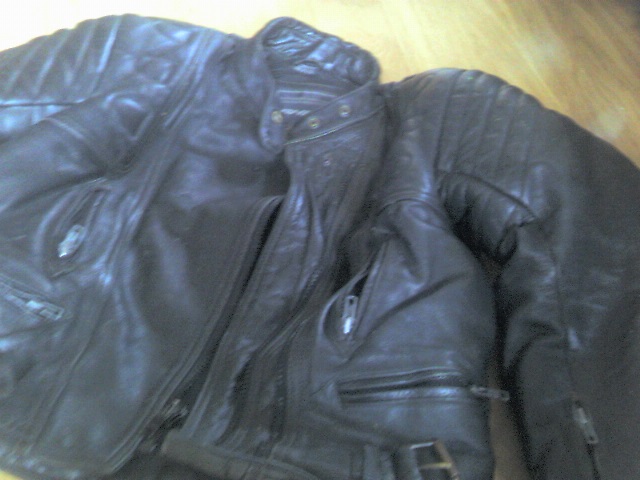
Next up I carved the shape of the seperate panels of the jacket into the model. I decided to go with the motorcycle jacket idea as it seems like a very quick, convenient makeshift armour for an inhabitant of the wasteland. I used my own motorbike jacket (below) as inspiration for the design.

Unfortunately this is where I hit a problem with my work. Once I had finished the painting I checked my uvs and found that I had twice as much going on as I should have.

It seemed that I had somehow managed to double the geometry of my model. I found that the best way to fix this was export as an obj. into maya where I was able to select the doubled geometry face by face, as below, and then re-import back into Zbrush.

I would have been able to take this back into zbrush and apply the polypainting from before but I was not aware how to do this at the time so I ended up redoing this process. Once that was done I was able to use the inflate transformation to bring out the white polypaint areas into folds, and then sculpt these into a more realistic shape. I also used a standard brush with an alpha to add some leather looking surface texture to the model.

Once I had the sculpting as I wanted it I began painting the model. I used the blue and yellow "Fallout" jumpsuit colour to continue the suggestion that the character has emerged from one of the vaults.
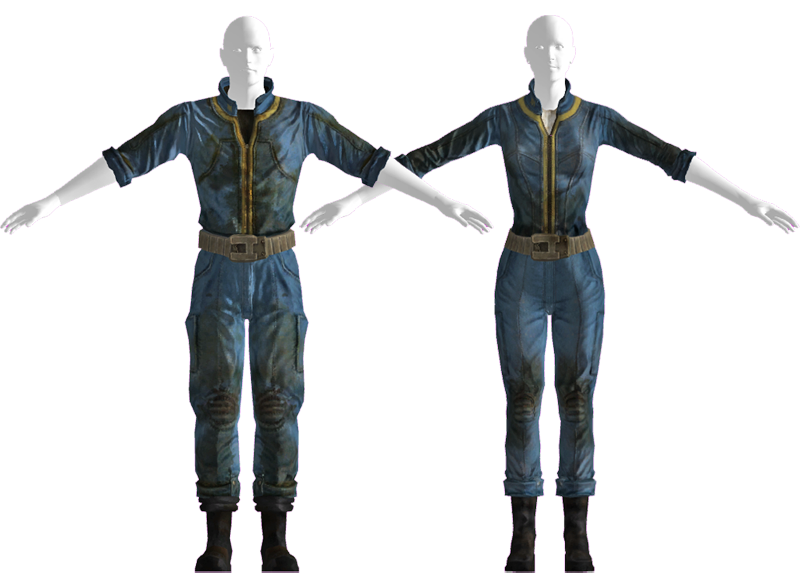

I also used the move topology brush to open the jacket coller at the top

I now begin making the trousers for my character. The sculpting process is very similar to that of the jacket, I polypainted high and low lights, inflated, then resculpted. The colour process for the jeans were different however. I took a photo my pair of jeans and used the spotlight feature in Zbrush to paint the details of the photo onto the sculpt.

I also added stitching detail to the model using a stitch brush with an alpha. The model needed to be divided up to about 6 million polys in order to achieve detail as small as this but it is definitely and effective touch

Next I went on to creating the boots for my character. Again I extracted the initial shape from my model. But in this case I then exported to Maya straight away where I flattened the bottom of the foot so it looked more like the sole of a shoe.

Once I had my model back in Zbrush, the process is almost identical to that of the jacket. I created the various folds, painted the colour onto the model, added leather texturing, and additional leather strips that wrap around the boots.

This is as far as I have got with my work, as I was bringing my head sculpture back into Zbrush my computer crashed and is now not functioning, I aim to fix it as soon as possible in order to continue my work.
No comments:
Post a Comment