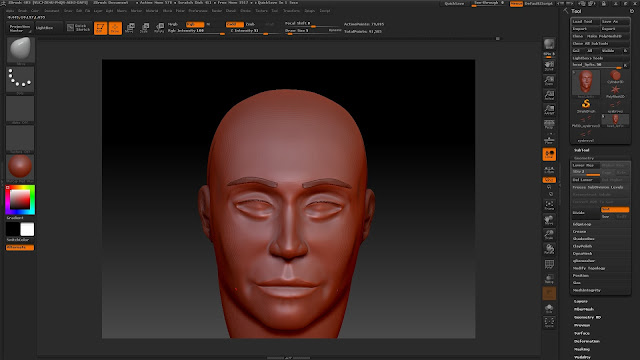
 This picture shows my sculpting projected onto the new correct topology. My next step was to add in some of the skin detail. This I achieved by very lightly sculpting into the surface of the model. It is important to note how the shape and density of pores change over the face, the temple area is much loger and stretched then the nose for example. I also added slight wrinkles to the looser areas of skin such as the bags around the eyes.
I was then able to begin polypainting the face. I selected a colour that was a Caucasian skin tone. Using the standard brush with the painting (RGB) on and the sculpting off, I then selected the "colour stroke" and upped the colour variance. This will stop the painting looking too flat and unnatural. Once I had a bese coat of this colour I then added some additional colour to different areas of the the face. The area around the eyes for example has some yellow and purple tones running through is, meanwhile I added some redder tones to the lips, cheeks jawline and neck.
Once I had my head painted I was ready to add the head model to the clothes I had created earlier.
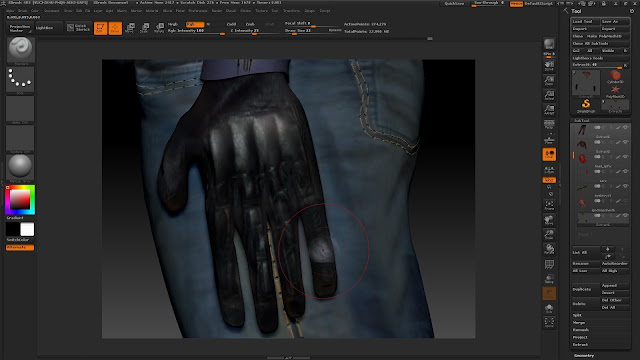
I now needed hands and some kind of undershirt to complete the model. As I liked the effect created on the jeans, I decided to also use spotlight in order to texture both these objects.
The gloves are SAP gloves. Basically ball bearings stitched into the leather in order to create a more devastating should you punch an opponent. I thought this would make for a cheap and obtainable form of protection for my character.
Now I have all the separate parts of my model set up I use the multimap exporter feature on Zbrush to create diffuse and normal maps for my character- as well as exporting all the parts as obj.s into maya. Here I hit another snag where the diffuse map for my head was not being created. After taking my model into uni to show the tutors we deduced that this was likely due to the fact that it was not taking information from all the layers I had set up. Now this is fixed I will need to set up the model with all the maps into maya.


No comments:
Post a Comment