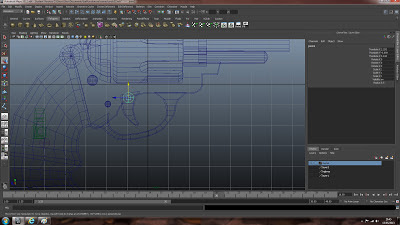
I used maya to create an ambient occlusion for my model. Normally I would have done all the pieces at once but as I am animating the gun I did the moving parts separately so they would not look unnatural with fixed shadows on them. This ao I could then use with my diffuse texture.
For my last project I created all textures by hand, for this I wanted to try using photography in conjunction with my layers to create a nice effect. I created a heavily scratched section of metal for the mechanical parts of the gun and wood for the handle. As the weapon is spose to be something my character may have salvaged from the apocalyptic wasteland, it suited it to be deteriorated to a certain extent.
This shows the gun with just the diffuse texture applied. My next step was to create normal and specular maps for the weapon. Crazy bump is a program I have never used before, however on trying it it works especially well. I used the information from my diffuse map to create the information for the other maps and them simply plugged them straight into maya. As you can see the finished effect is pretty pleasing.
Now I had the model looking how I wanted it was time to animate it. I used skeleton joints to help me with this. One for each of the moving parts, hammer, cylinder, trigger, and a parent one for the whole model.
Something I found out was that if I altered the geometry I had to reset the joint it was applied to, otherwise it wont play cricket. Once all my joints were set up I began the actual animation process. This was pretty easy and suprisingly fun. It included the revolving cylinder, squeezing the trigger, pulling back the hammer and the movement of the gun due to recoil. I made a turntable with this animation playing and rendered a couple of images ready for my hand in folder. This pretty much concludes my gun model. Gee whiz.


No comments:
Post a Comment